
For contractors asking how to cut cob led strip safely, the first rule is short: cut only at the marked cutting points, and only after the driver is disconnected. On project work, cutting and bending are not minor installation details. They decide whether a run can follow the architecture, whether the reconnected section stays reliable after handover, and whether the IP rating still applies at the cut end.
How to Cut COB LED Strip Safely
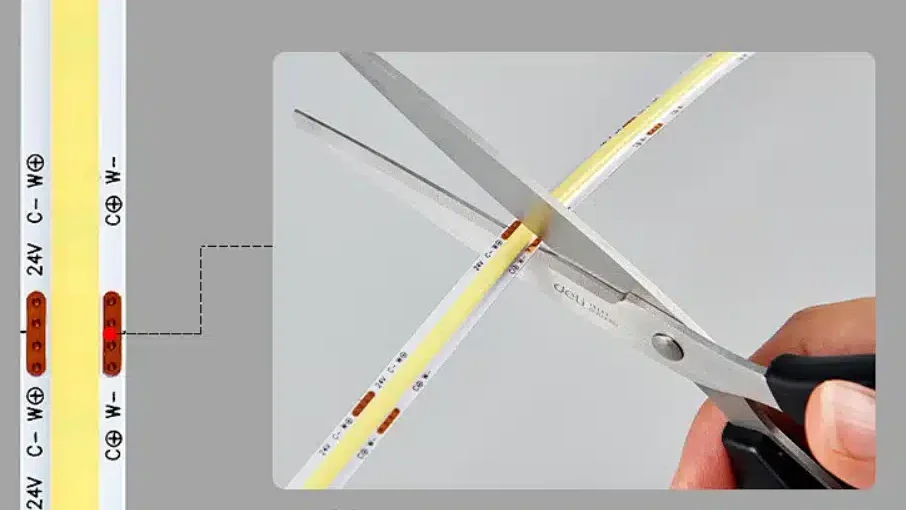
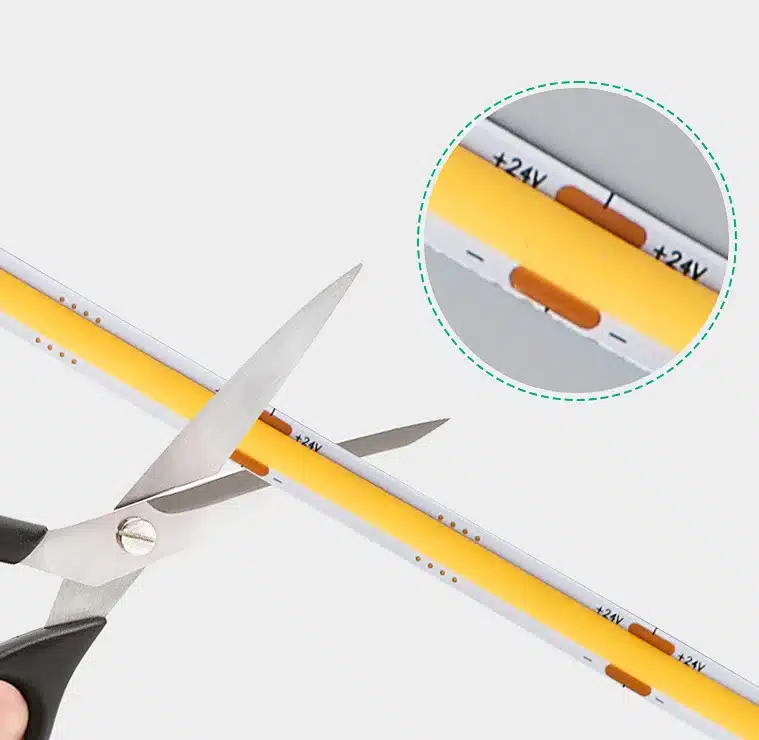
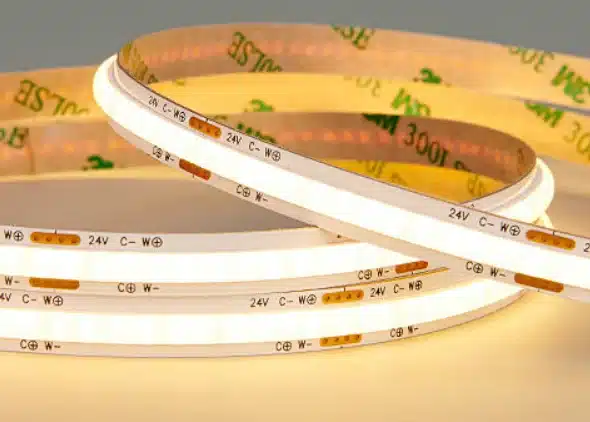
A COB LED strip is cuttable, but the position is fixed by the circuit design rather than by the tape measure. Printed cut marks show where the copper pads are laid out so a section can be separated and still be powered.
Because these strips run at 12V or 24V as SELV circuits per IEC 61140, the risk while cutting is not electric shock. It is a damaged circuit and a shorted driver output. Cutting a live strip lets the blade bridge both pads for an instant, which is enough to trip or damage a driver, so the supply comes off first.
- Disconnect the driver and confirm the section is dead.
- Measure the run and mark the length against the nearest cut point, not the ideal length.
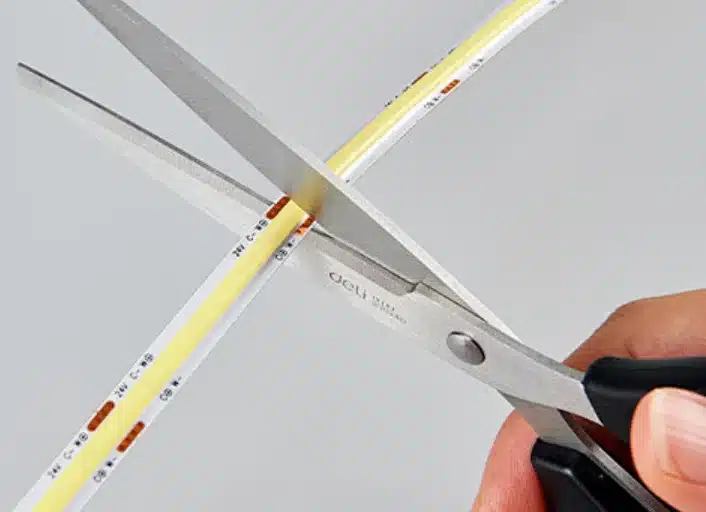
- Cut square across the mark with a clean blade or PCB cutter.
- Check both copper pads are fully exposed and undamaged.
- Reconnect by solder joint, matched connector, or factory-prepared cable.
- Power up and test before the adhesive is pressed down.
That last step matters more than it sounds. Once a self-adhesive strip is bedded into an aluminium profile, removing it to fix a bad joint usually damages the strip and the profile finish.
Where to Cut, and Why the Interval Changes with Voltage
Cutting outside the mark severs a series group part-way through, which leaves a stub that cannot be powered at rated voltage even though the copper looks intact. The cut also has to be square: an angled cut can part-sever one pad and produce a joint that works on the bench and fails intermittently in the ceiling.
The cut interval is not arbitrary. COB chips are wired in series groups, and a 24V strip needs roughly twice as many chips per group as the 12V version of the same product, so its cut unit is typically about double. This is the practical reason a 24V COB LED strip is harder to fit to short, awkward lengths than a 12V one, and why the voltage decision should be checked against the shortest section in the drawings as well as the longest run.
Searches like “cut anywhere COB LED strip” therefore need care. Some products are built for shorter or freer cutting, but that is a specific circuit design, not a general property of COB construction. Confirm the cut unit in millimetres before the joinery is machined, because the strip cannot be asked to match a groove it was never designed to fit.
One more constraint is easy to miss on waterproof builds: a silicone-encapsulated strip loses its rating at the cut end until it is re-sealed with an end cap and adhesive, since the IEC 60529 rating applies to the sealed assembly and not to the cut face. The COB range described here is IP20 for dry positions, and damp or exterior work uses a separately specified waterproof COB LED strip build with its own sealing procedure.
When You Need Exact Lengths: Cut Marks, Free Cut, or Factory Pre-Cut
Have an LED Lighting Project?
Share your project requirements — our engineering team will configure the complete LED strip system (strips + profiles + controllers + power supplies) and send you a detailed proposal within 24 hours.
Cabinet, joinery, display, and stair work is where this becomes a commercial question rather than a technical one. Those jobs are built from many short sections, each one a different length, and a strip with a long cut unit forces either a visible dark gap at the end of the groove or a section that overruns it.
| Approach | How the Length Is Set | Where It Fits |
|---|---|---|
| Standard cut marks | On site, at the printed cut points only | Coves, shelves, ceilings, repeated commercial runs |
| Free cut design | Shorter or more flexible intervals, where the circuit is built for it | Short sections and exact lengths in furniture and display work |
| Factory pre-cut lengths | Cut and terminated before shipment to your schedule | Volume projects with repeated identical modules |
For most joinery projects the third option is the one worth asking about first. Sending a cutting schedule and having sections arrive cut and pre-wired removes site labour, removes the connector-fit problem described below, and keeps every module identical across a floor. A cabinet COB LED strip lighting project shows how those sections are broken up in practice.
How to Bend COB LED Strip Without Damage
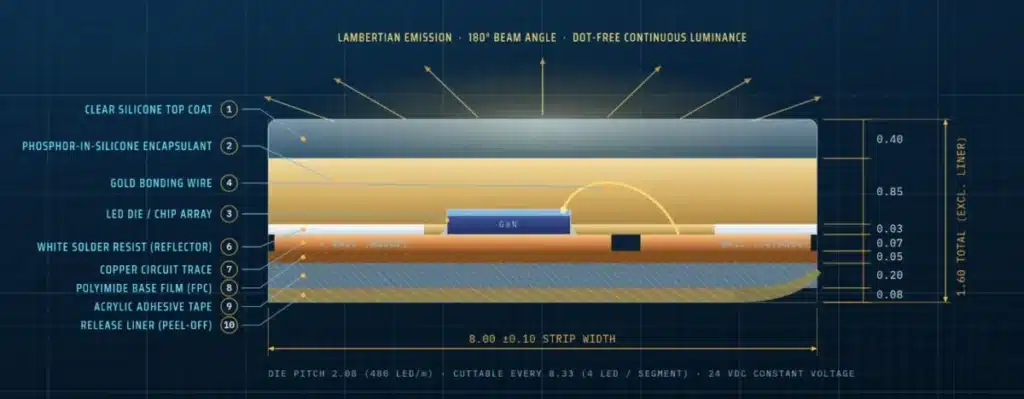
COB strip bends, but only in one plane and only to a radius. The failure mode is worth understanding because it is usually delayed: a sharp crease fractures the copper trace or a solder joint while the strip still lights normally on the day, then fails weeks later behind a finished detail.
Bending Direction and Radius
The strip is designed to curve along its length, across the flexible plane of the PCB. It is not designed to twist along its axis or bend sideways across its width. Confirm the minimum bending radius with the supplier before the installation path is fixed, and treat wide boards as less forgiving than narrow ones, since the same radius puts more strain on the outer edge of a wider PCB.
What to Do Instead of Forcing a Corner
Right angles and tight returns should be built, not bent. Use a corner connector, a soldered wire bridge, or two separate sections meeting at the corner. On stair, handrail, and curved-path work the two problems arrive together, since the run has to bend continuously and be cut to a length set by the joinery — a stair handrail COB LED strip lighting project shows how that path is planned before the profile is ordered.
Tools and Reconnecting a Cut Section
Cutting is the easy half. The reconnection is where most site failures originate, so the method should be decided before the strip is specified rather than improvised by whoever is on site that day.
- Sharp scissors or a PCB cutter that leaves a square edge
- The cutting schedule or installation drawing, not a mental note
- Connectors matched to the exact PCB width, or a soldering iron and flux
- Wire and heat-shrink sized for the current the section will carry
- A multimeter to confirm polarity and continuity before fixing
- The aluminium profile or channel the section will actually sit in
The trap with clip connectors is dimensional. A connector matched to an 8 mm board is still wider and thicker than the strip itself, so a section that fits a 10 mm machined groove with a millimetre of clearance either side may not accept a connector at all. Where the groove is tight, solder the joint or move it outside the profile. Our guidance on connector and power supply matching covers the electrical side of that choice, and the installation and wiring guide covers what happens after the sections are joined.
Common Mistakes When Cutting COB LED Strip
Most enquiries about how to cut COB LED strip arrive after something has already gone wrong, and the cause is usually the same: every strip was treated as identical. The cut unit, pad layout, and connector fit differ by product, and none of them can be corrected after the joinery is machined.
- Cutting to the length the groove needs instead of to the nearest cut mark.
- Assuming any COB strip can be cut anywhere.
- Cutting with the driver still connected.
- Ordering connectors before confirming the PCB width and the profile clearance.
- Forcing a right angle instead of using a corner connector or two sections.
- Testing after the adhesive is down rather than before.
- Reversing polarity on a reconnected section.
- Cutting a waterproof strip without re-sealing the cut end.
On volume work, cut and reconnect a sample section first using the same tools, connectors, and driver the site will use. It is the cheapest test available and it catches the connector-clearance problem before it is multiplied across a floor.

Two Starting Points for Cuttable COB Work
Both of these are 8 mm boards at IP20 with CRI 90, intended for dry, concealed positions and available in 12V or 24V — which is the specification that decides how short a section can be.
- 320 LEDs/m on an 8 mm board — the lower-density option, and the easier of the two to fit into short furniture and display sections.
- 480 LEDs/m on an 8 mm board — the general-purpose choice for coves, cabinets, and commercial linear runs.
Before ordering, confirm the cut interval in millimetres, the PCB width against the groove or profile, the voltage, and whether sections will be soldered, connectorised, or supplied pre-cut. Damp and exterior positions need a waterproof build specified separately from these.

FAQ
Can COB LED strip be cut?
Yes, at the printed cut marks. Cutting elsewhere severs a series group part-way through and leaves a section that cannot run at rated voltage.
Can I cut COB LED strip anywhere?
Not on a standard product. Some strips are built with shorter or freer cutting intervals, but that is a specific circuit design and should be confirmed for the exact model before the joinery is machined.
How do I find the right cut position?
Look for the printed mark on the board and confirm the interval on the datasheet. If the mark is unclear on a sample, ask the supplier for the cut unit in millimetres rather than estimating from the chip spacing.
How do you reconnect a strip after cutting?
Solder joint, a connector matched to the PCB width, or a factory-prepared cable. Solder is the more reliable option inside a tight profile, since a clip connector adds width and thickness the groove may not have.
Can COB LED strip be bent?
Along its length, to a stated minimum radius. It should not be twisted, folded, or forced sideways across its width, and a crease can fracture a trace without the strip failing immediately.
Does cutting affect the IP rating?
On a waterproof build, yes. The cut face is unsealed until an end cap and adhesive are fitted. The IP20 range described here is for dry, concealed positions.
Should the strip be tested after cutting?
Always, and before the adhesive is pressed down. Checking polarity and continuity at that point is the difference between a two-minute fix and removing a bonded strip from a finished profile.
Reference Resources
For broader background on LED lighting and electrical planning, buyers may review these resources:
Request Samples and Cutting Support
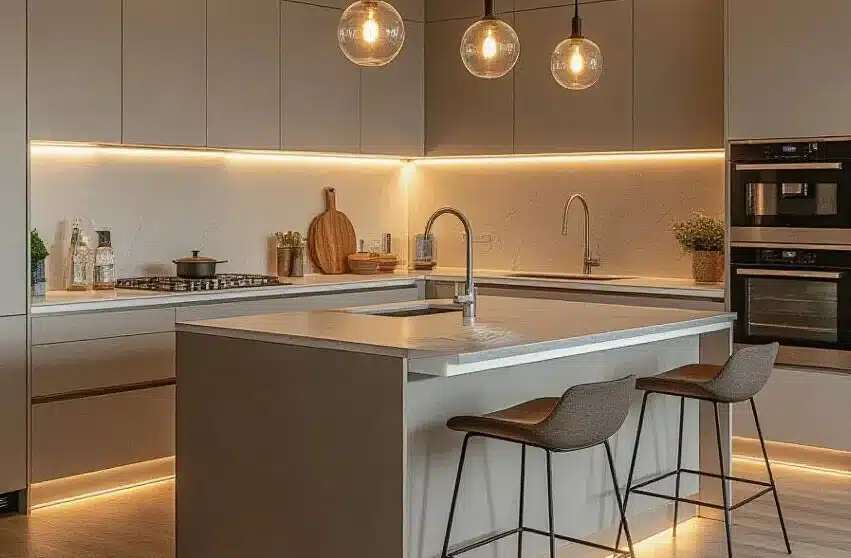
If your project needs cuttable COB LED strip for cabinets, handrails, hotel coves, shelves, ceilings, or custom profiles, prepare the section lengths, voltage, profile or groove size, connection method, and installation drawings before making contact. A cutting schedule is enough for us to say whether the lengths are achievable on site or better handled as factory pre-cut sections.
You can contact Senfey to request samples, confirm cut units, discuss custom lengths, or get support with installation planning.
